Sante PACS Viewer
Quick start guide
Copyright © 2026 Santesoft LTD , all rights reserved
Table of Contents
The user interface

The user interface is divided into seven parts:
1.
The menu bar
2.
The toolbars
3.
The series pane
4.
The main window
5.
The Frames/Series/MPR Mode selection tab
6.
The frame selection slider
7.
The frame range selection buttons
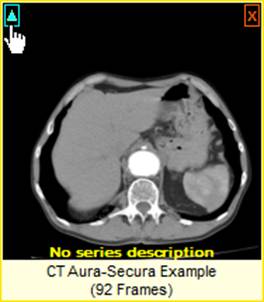
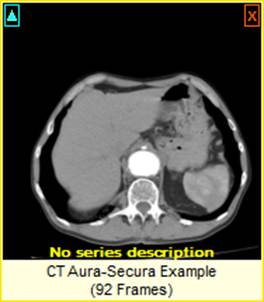
The program works with DICOM series. If the user opens a single DICOM file, the program creates an in-memory DICOM series containing that file and works with it as a single-file series. If the user opens a study, the program works with all DICOM series in that study. All open series are displayed in the series pane (3) as thumbnails. The user can load an open series into the main window by double-clicking its thumbnail in the series pane (3), or by clicking the green arrow in the upper-left corner of the thumbnail.
Series loaded in the main window are shown in blue, while series that are not loaded are shown in yellow. The active series is shown in magenta.
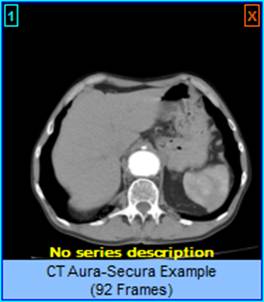

The user can close a series by clicking the red X
symbol in the upper-right corner of the thumbnail.
1. Menu bar
The menu bar contains all program commands.
2. Toolbars
The toolbars provide shortcut buttons for the most useful commands of the program.
3. Series Pane
This pane displays thumbnails of the open series. Each series thumbnail shows the patient's name, the series description and the number of frames of the series.
4. Main window
The main window is the user's primary work area. The main window displays the frames of the active series (Frame mode), or one frame from each loaded series (Series mode). The user can select the mode of the main window from the Frames/Series/MPR selection tab.
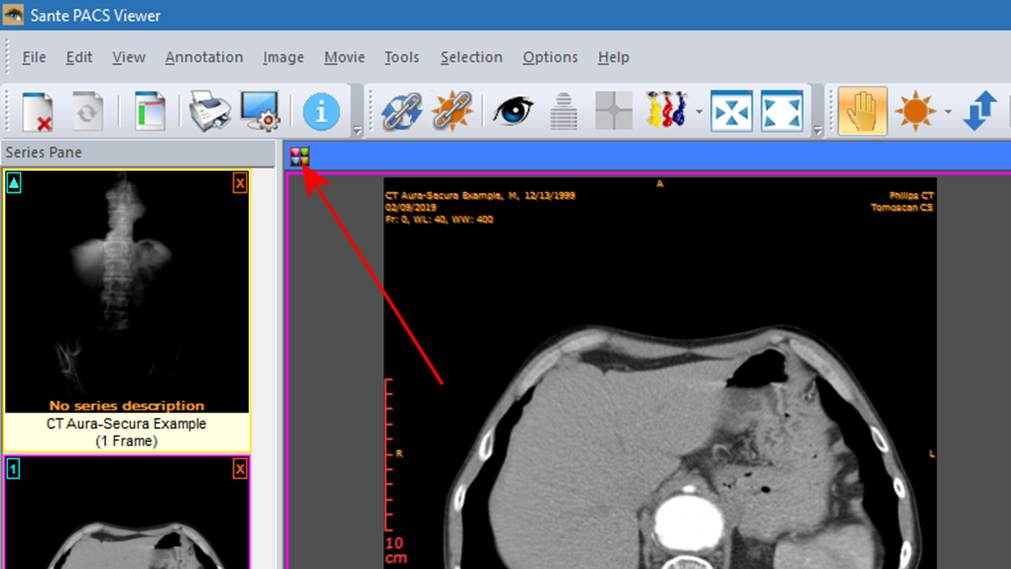
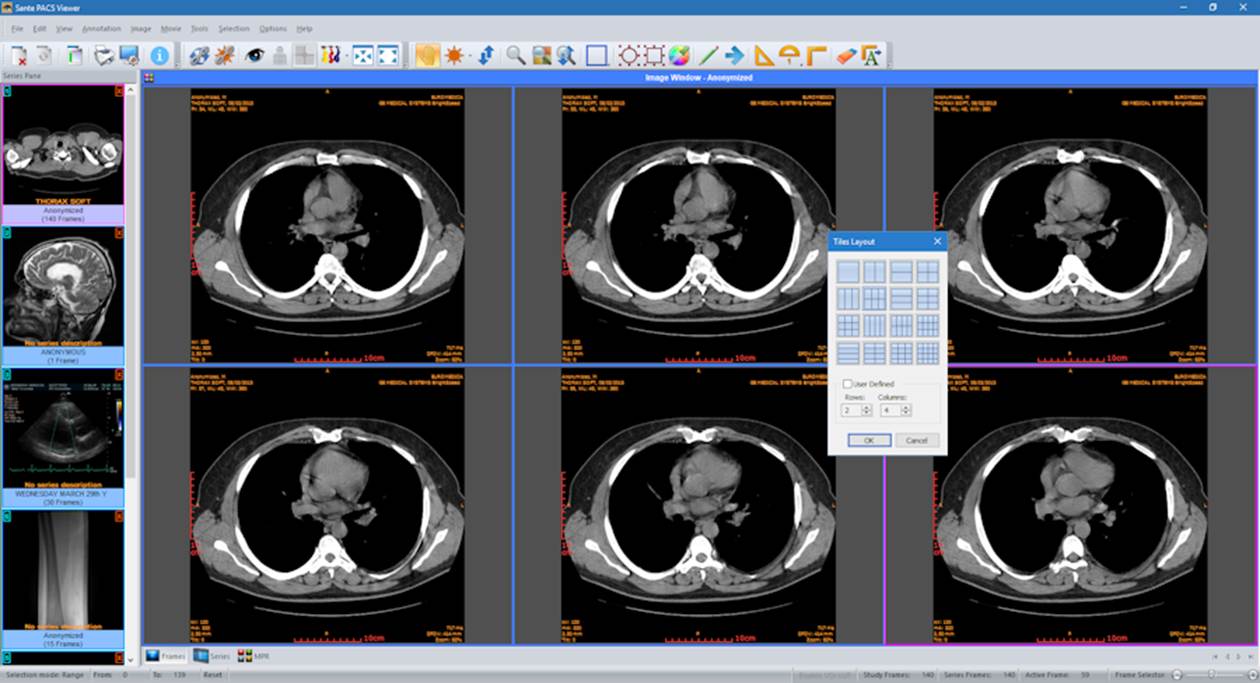
Each mode can have a different number of tiles, and the user can select the number of tiles with the "Options → Tiles Layout" menu command, or by pressing the button in the upper-left corner of the Main Window.
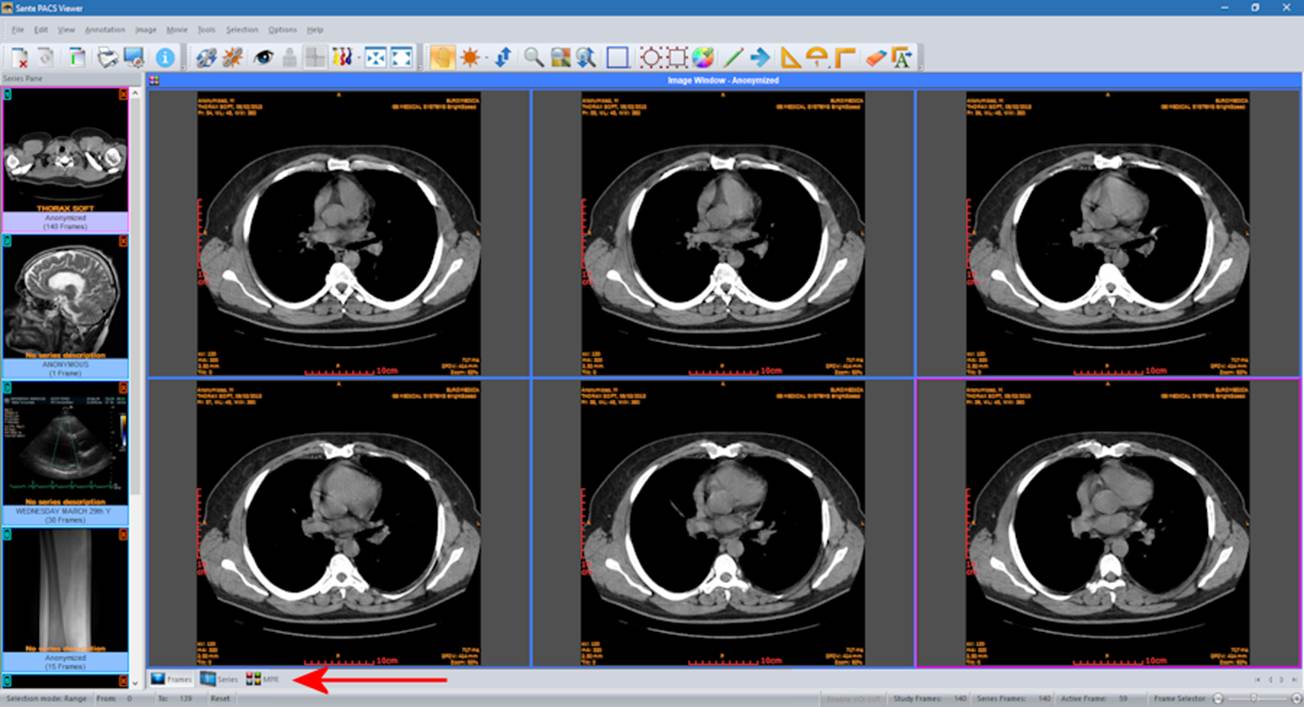
5. Frames/Series/ MPR selection tab
If the "Frames" tab is selected, the main window displays the frames of the active series (Frame Mode).
If the "Series" tab is selected, the main window displays all the loaded series (Series Mode).
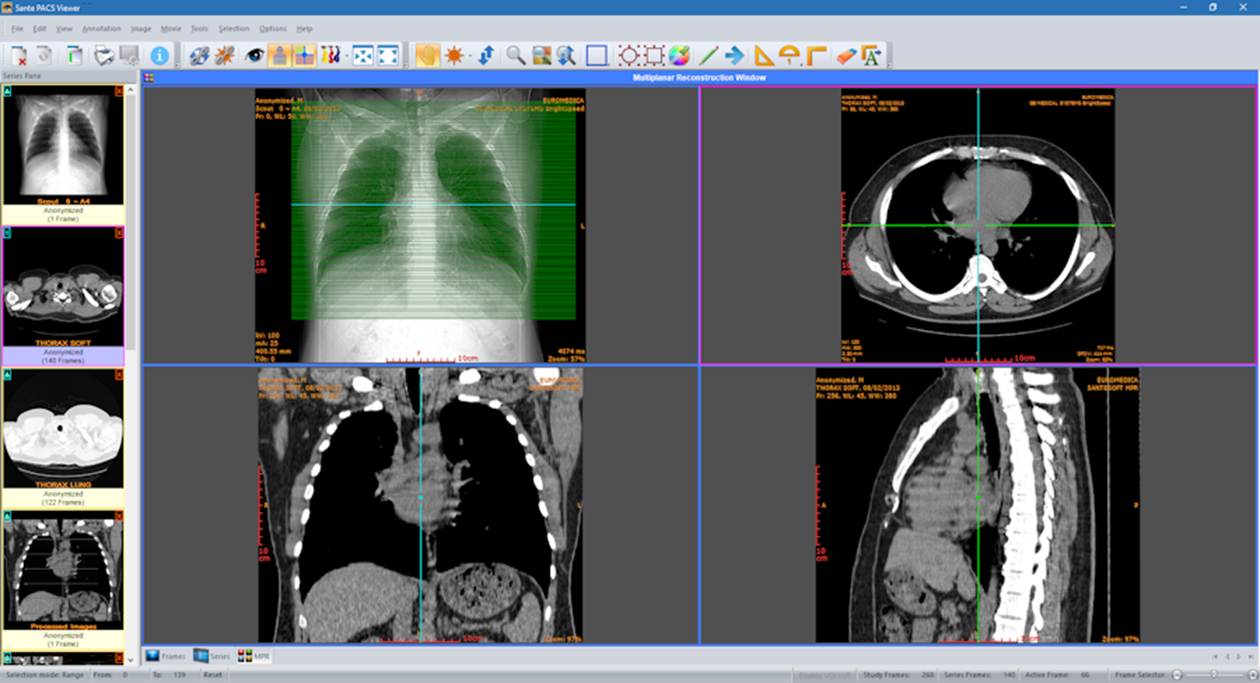
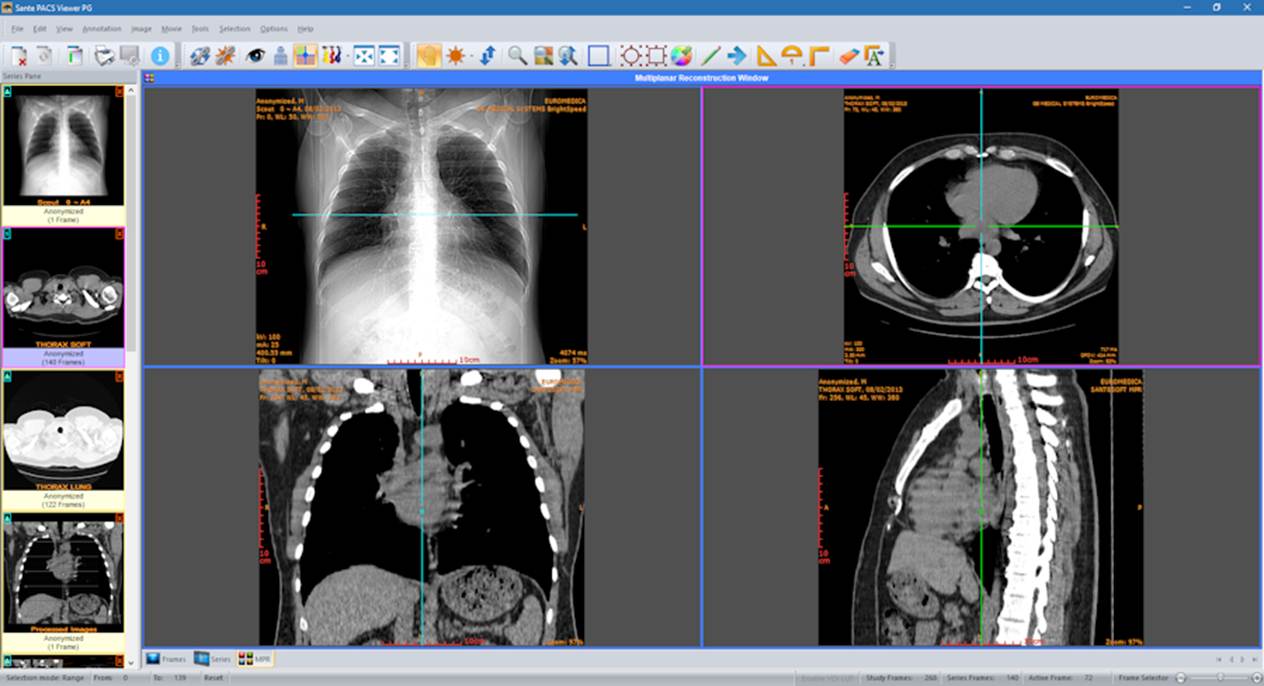
If the "MPR" tab is selected, the main window displays the scout image/localizer and the axial/coronal/sagittal volumes of the series (MPR Mode).
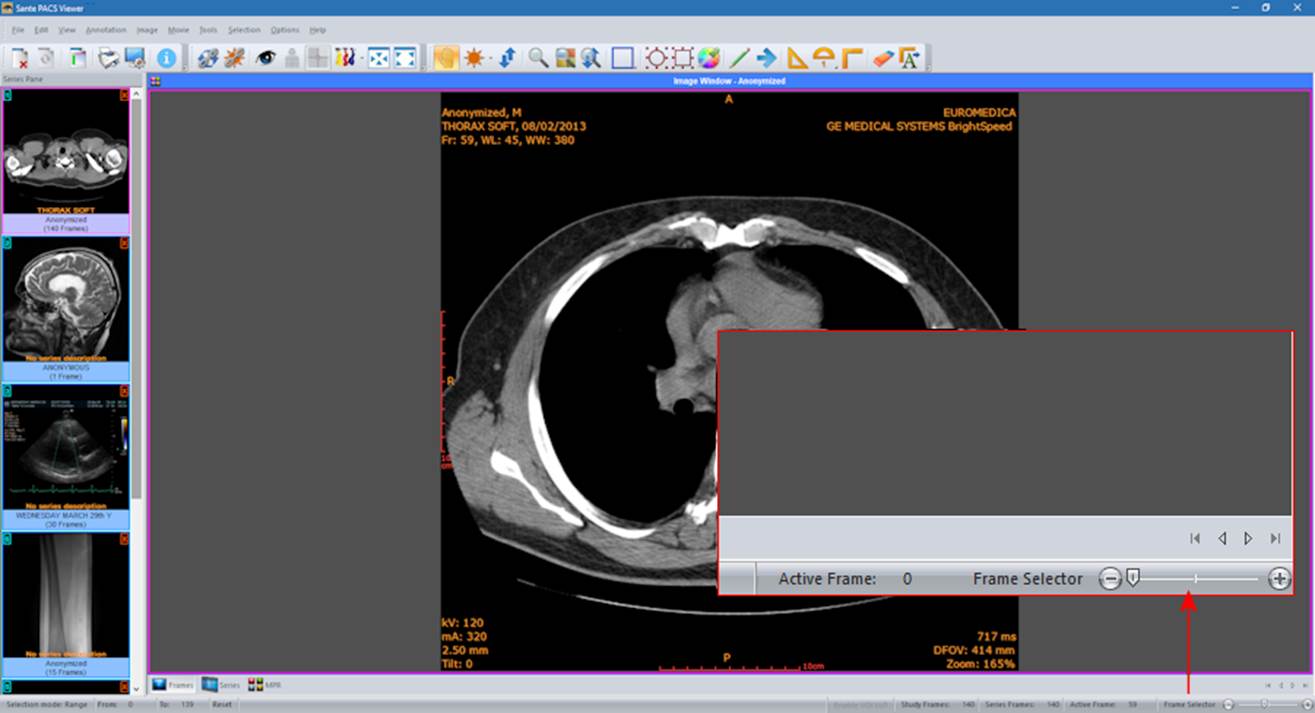
6. Frame selection slider
If the active series has many frames, this slider lets the user select the active frame. Otherwise, it is disabled.
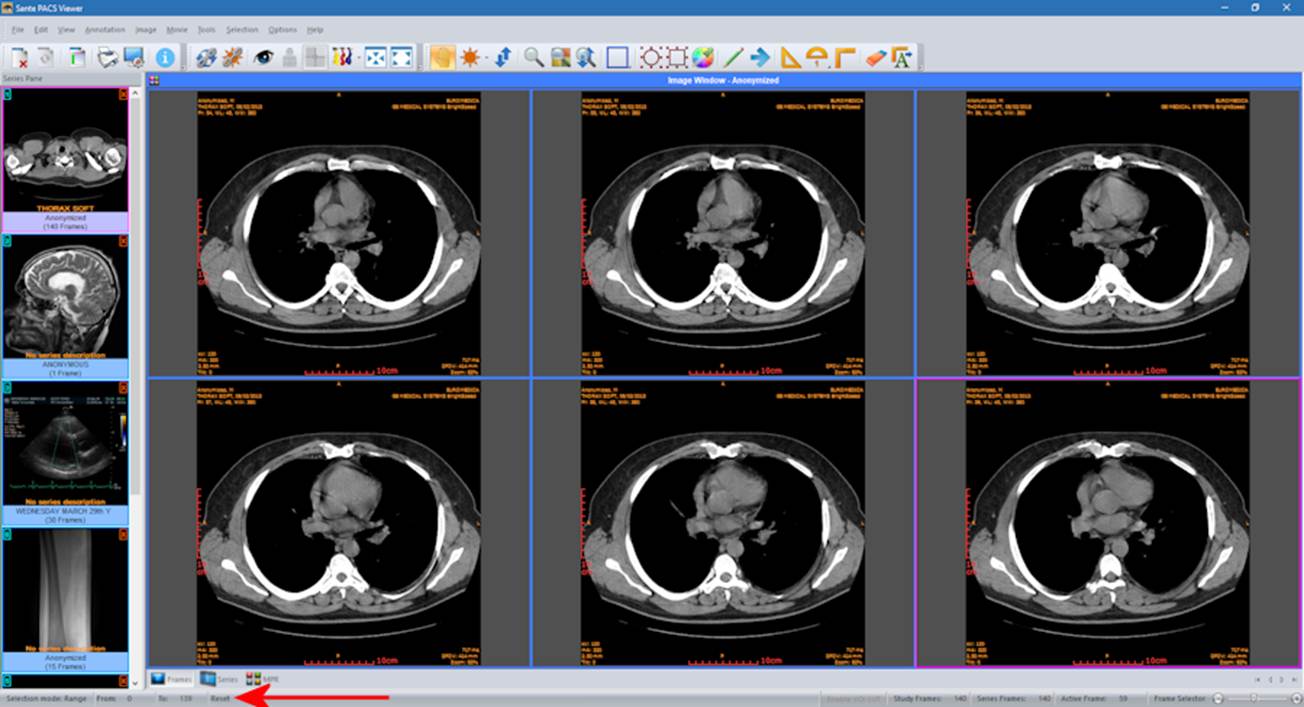
7. Frame range selection buttons
Processing, selection, annotation and zoom actions can work with the current image or with a range of images.
Use these buttons to select the frame range for these actions.
By pressing the "From"
button of the status bar, the current frame becomes the first frame of the range.
By pressing the "To"
button of the status bar, the current frame becomes the last frame of the range.
By pressing the "Reset"
button of the status bar, the frame range includes all frames of the multi-frame file or the multi-file series.
The user can also set the frame range with the menu command "Edit
→
Set Frame Range".
The modes of the Main Window (4)
The Main Window (4)
is divided into tiles and has four modes:
1.
The "MPR Mode"
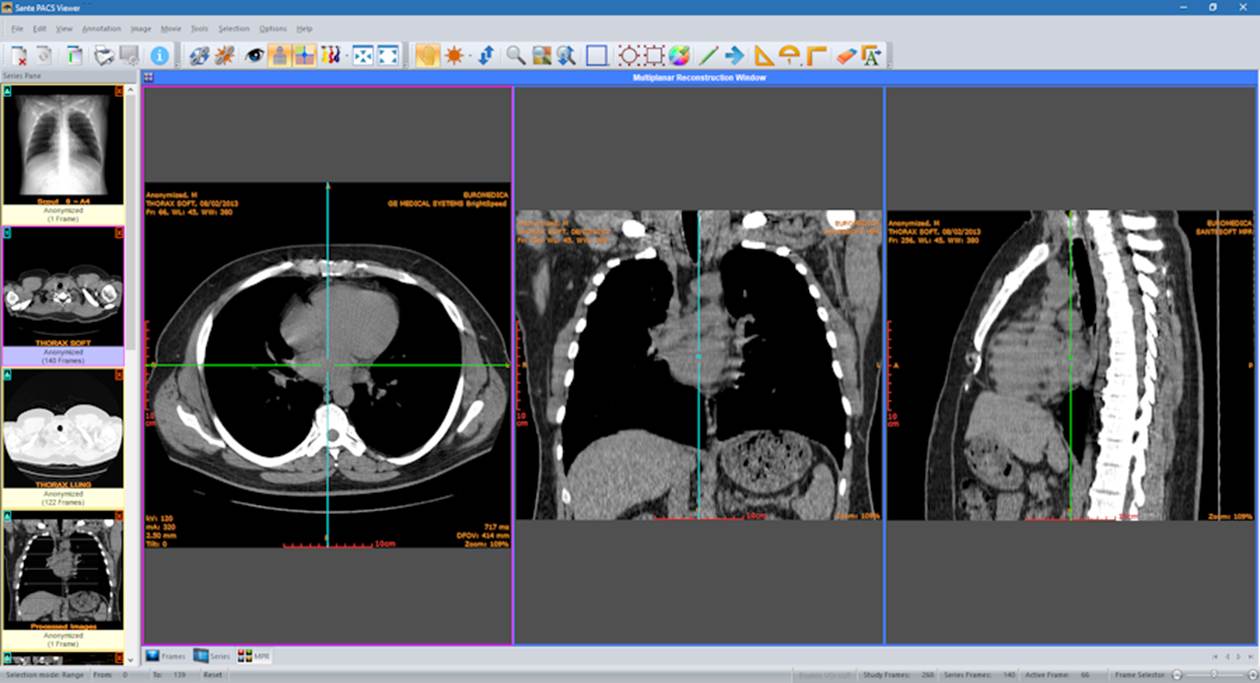
that displays the scout image/localizer, the axial volume of the series and the volumes of the coronal and sagittal reconstructions of the series.
2.
The "Frames Mode"
that displays in its tiles the frames of the same series (the active series).
The user can select the number of tiles with the "Options
→
Tiles Layout"
menu command.
3.
The "Series Mode"
that displays in its tiles all series loaded in the main window.
The user can select the number of tiles with the "Options
→
Tiles Layout"
menu command.
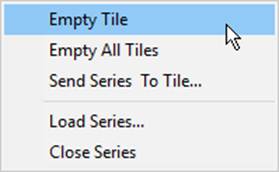
The active series is displayed in the "Series Mode" with a red rectangle around its tile (4). The user can select the active series by clicking its tile in the "Series Mode", or by single-clicking its thumbnail in the series pane. If a series is loaded in the main window, the number is displayed in the upper-left corner of its thumbnail of its "Series Mode" tile. If the user right-clicks a "Series Mode" tile, a pop-up menu appears and lets the user empty the tile, empty all tiles, change the series assigned to the tile, load another series into the tile, or close the series currently loaded in it. This menu is not available in the "Frames Mode".
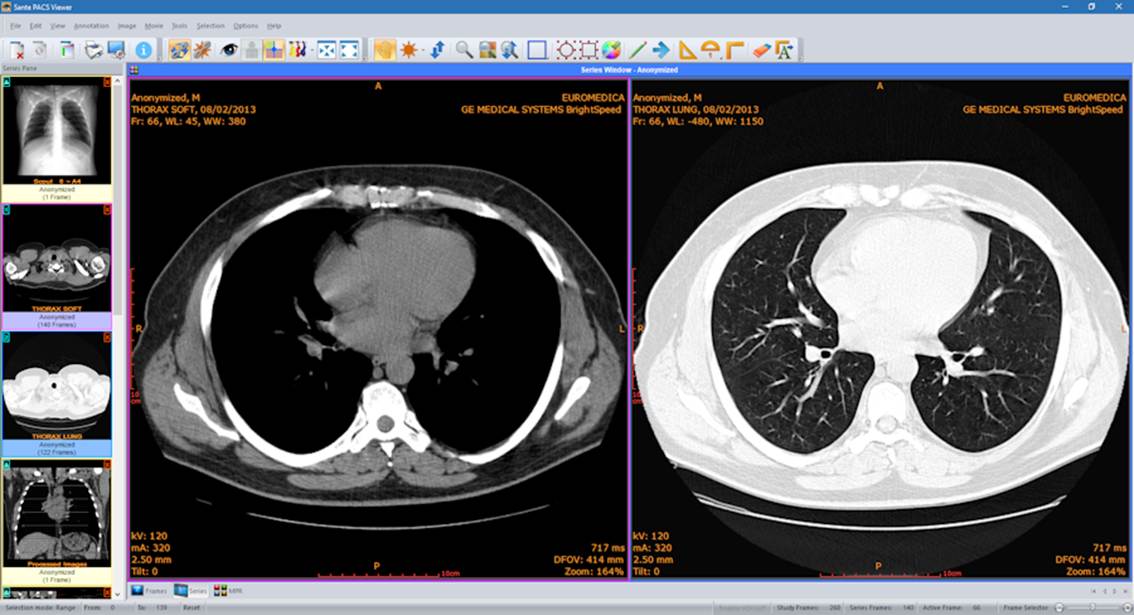
The main window in the frame mode (one tile)

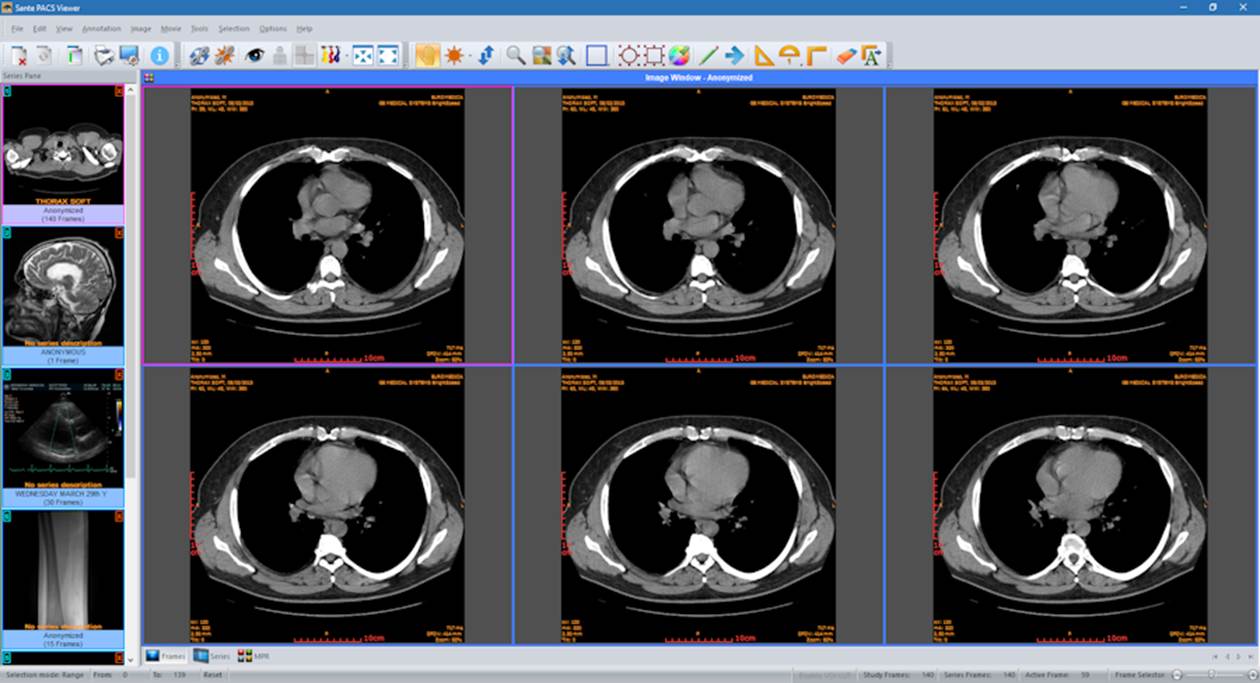
The main window in the frame mode (six tiles):
Displays six frames of the active series. The user can select the number of tiles.
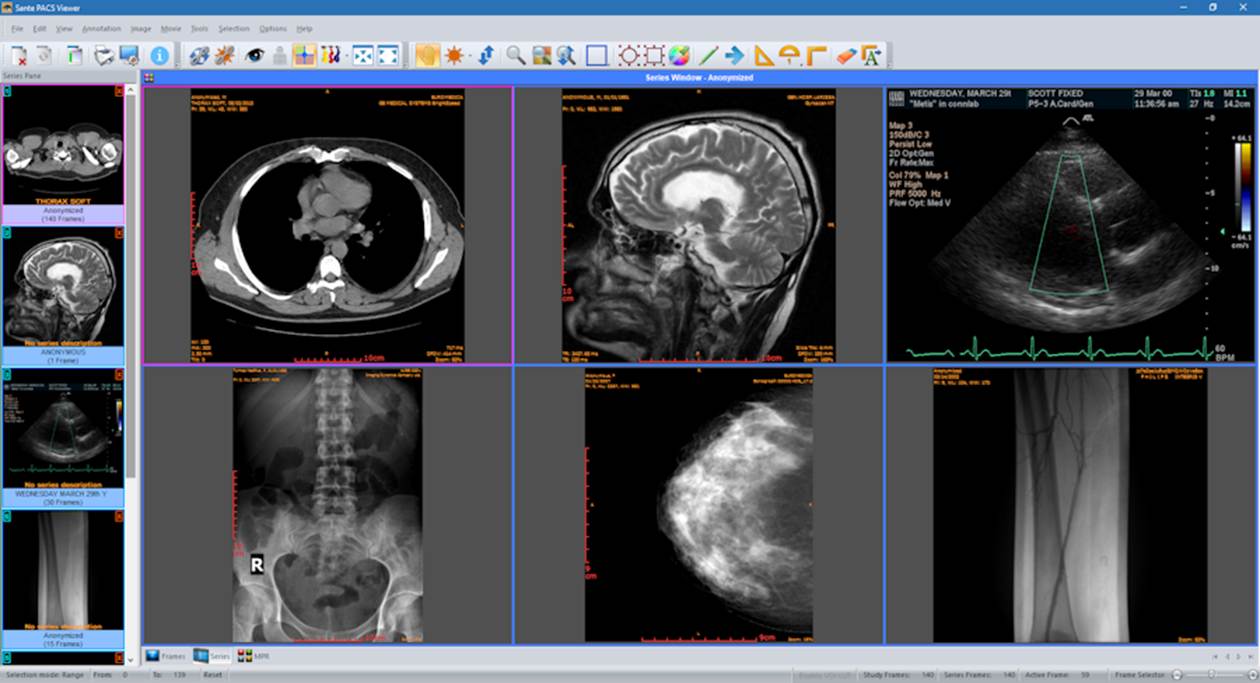
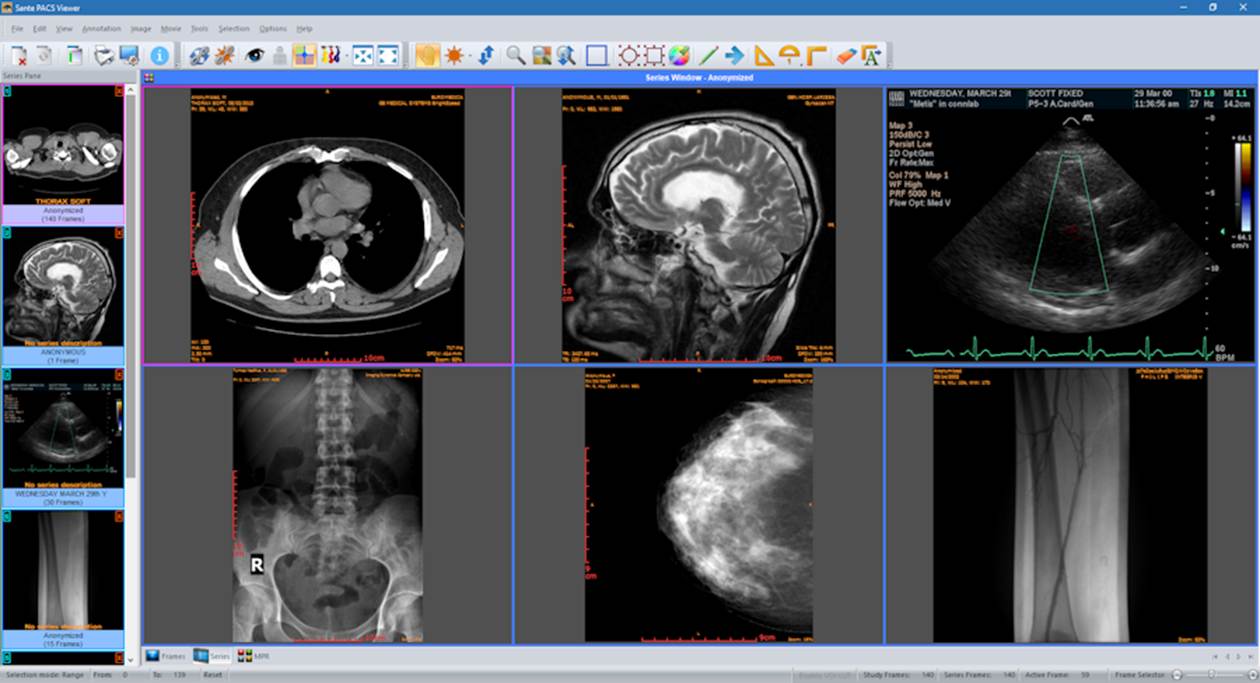
The main window in the series mode (six tiles):
Displays up to six different series. The user can select the number of tiles.
The active series has a red rectangle
around its tile
.
The main window in the MPR mode
Customize the Toolbars
The program allows users to add and remove toolbar buttons to suit their preferences.
Any toolbar can be quickly customized with the "Add or Remove Buttons" submenu available from the chevron button when it is docked or with a special button in the toolbar caption when it is floating.
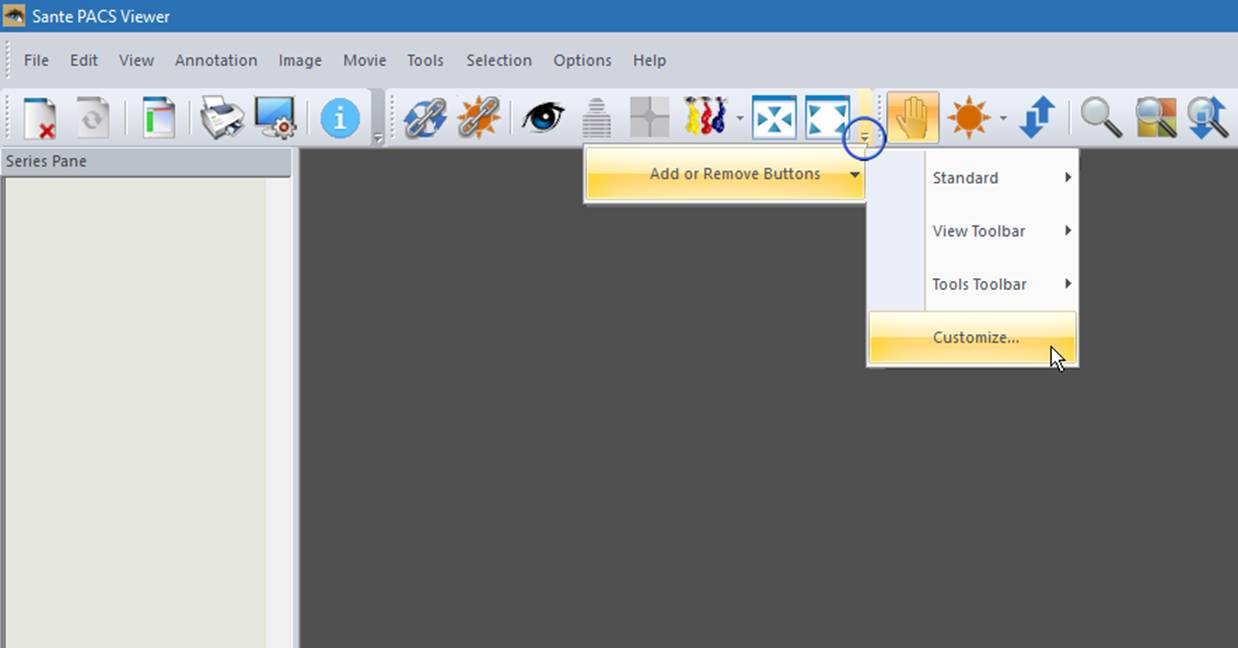
By selecting the menu item "Customize"
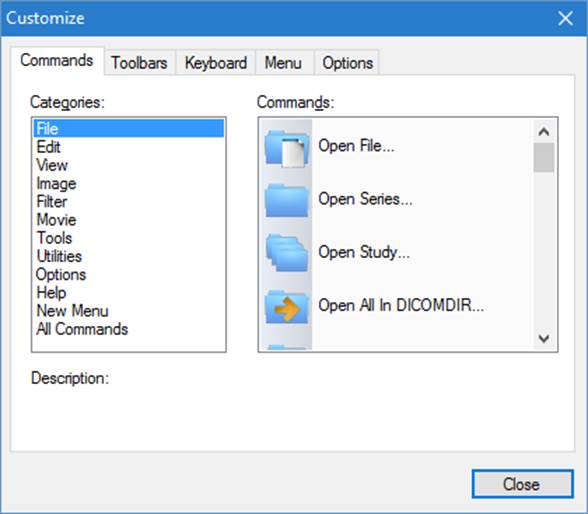
a dialog box appears and allows the user to drag-and-drop buttons from the dialog box to any toolbar.
It also allows the user to drag buttons out of a toolbar to remove them.
Load a Series into the Main Window
To load a series into the main window, use one of the following methods:
1.
Double-click the series thumbnail in the Series Pane (3)
.
2.
Click the green rectangle in the upper-left corner of the series thumbnail in the Series Pane (3)
.
3.
Use the "drag-and-drop"
operation in the Frame Mode, Series Mode or MPR Mode.
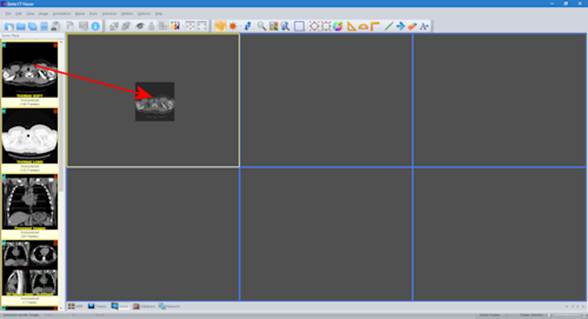
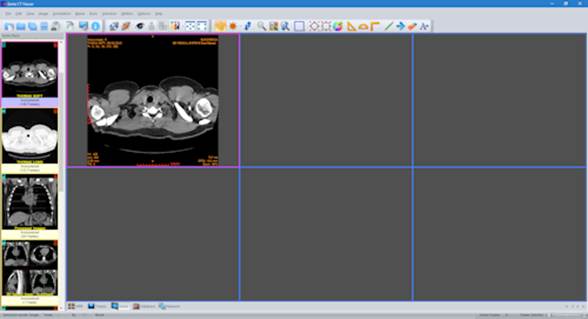
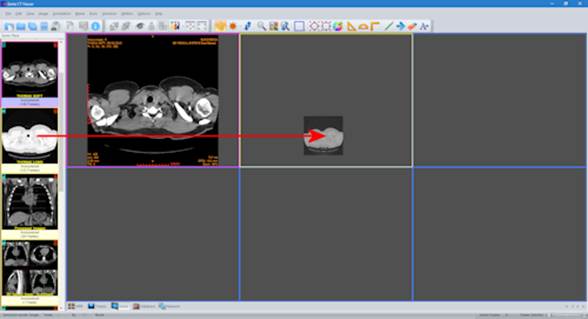
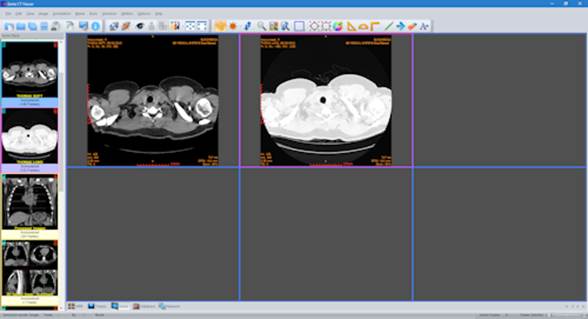
When using drag and drop in Series Mode, you can choose the destination tile for each series and arrange the series in the desired order.
If the destination tile already contains a series, the program replaces the old series with the new one.
4.
In the Series Mode, press the right
mouse button over the desired tile.
A pop-up menu appears and allows the user to load a series into the tile.
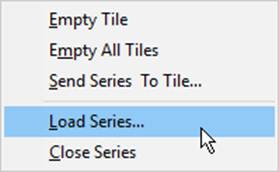
This menu is not available in the other modes.
Set the Active Series
1.
Click the series thumbnail of an open series in the Series Pane (3)
.
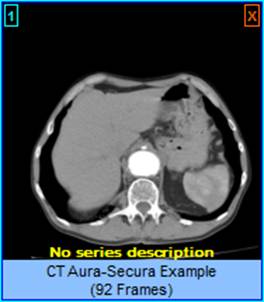
2.
In the Series Mode, press the left
mouse button over the desired series.
The series becomes active and it has a red rectangle
around its tile
.
This menu is not available in the other modes.
Unload a Series from the Main Window
1.
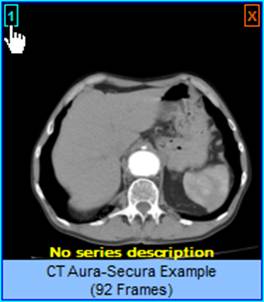
In the upper-left corner of the loaded series thumbnail in the Series Pane (3)
is displayed a number.
This number indicates the tile of the Main Window in the Series Mode
in which this series is loaded.
Click this number to unload the series from the Main Window. The series remains in memory and its thumbnail becomes yellow.
2.
In the Series Mode, press the right
mouse button over the tile of the desired series.
A pop-up menu appears and allows the user to unload the series and empty the tile.
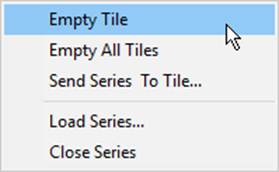
This menu is not available in the other modes.
Close a Series
1.
To close the active series select the menu command "File
→
Close"
2.
To close all series, select the menu command "File
→
Close All"
3.
To close a selected series, press the red x
button in the upper-right corner of its thumbnail in the series pane (3)
.

4.
In the Series Mode, press the right
mouse button over the tile of the desired series.
A pop-up menu appears and allows the user to close the series, release its memory and empty the tile.
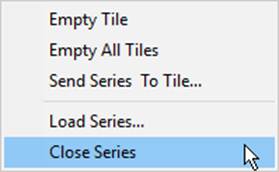
This menu is not available in the other modes.
The Series Mode
The "Series Mode" can display one or more series.
It displays the cross-reference lines between the series, if the series belong to the same study and the same patient.
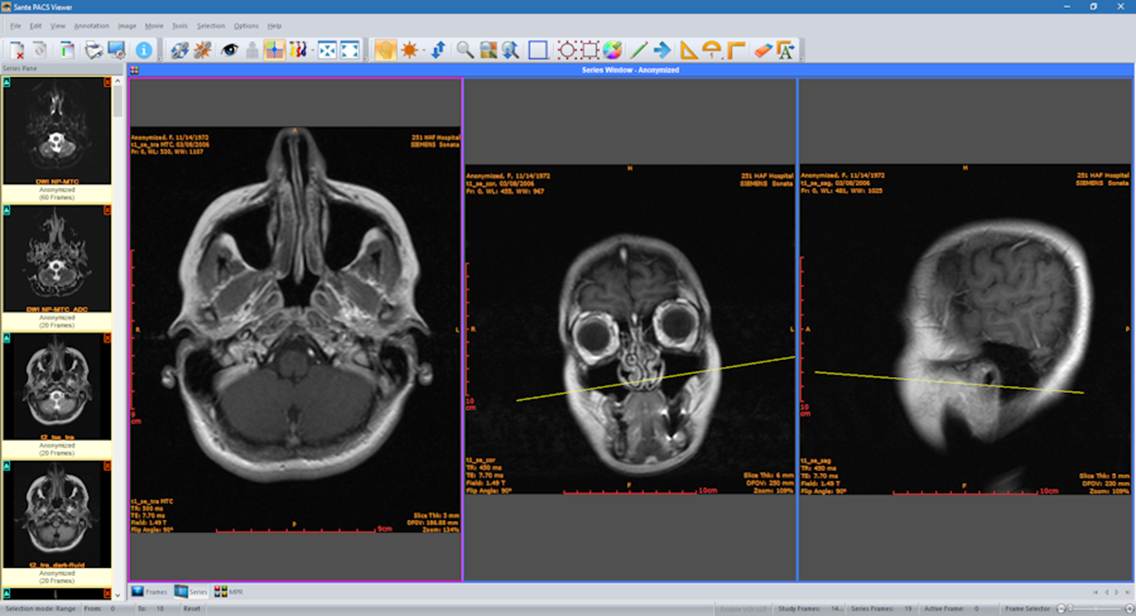
This mode can be used to compare series. The program provides the following tools:
1.
Use the menu command "View
→
Synchronized Series Frames"
( ) to force the program to display the corresponding frame in all series (the series must have the same orientation).
2.
Use the menu command "View
→
Synchronized Series Level-Window"
( ) to force the program to display images from all series using the same level-window values.
3.
Use the menu command "View
→
Synchronized Field of View"
( ) to force the program to display the images with the same field of view.
The MPR Mode
The MPR window can display three or four tiles. The user can switch between the three-tile and four-tile layouts with the button in the upper-left corner of the window.
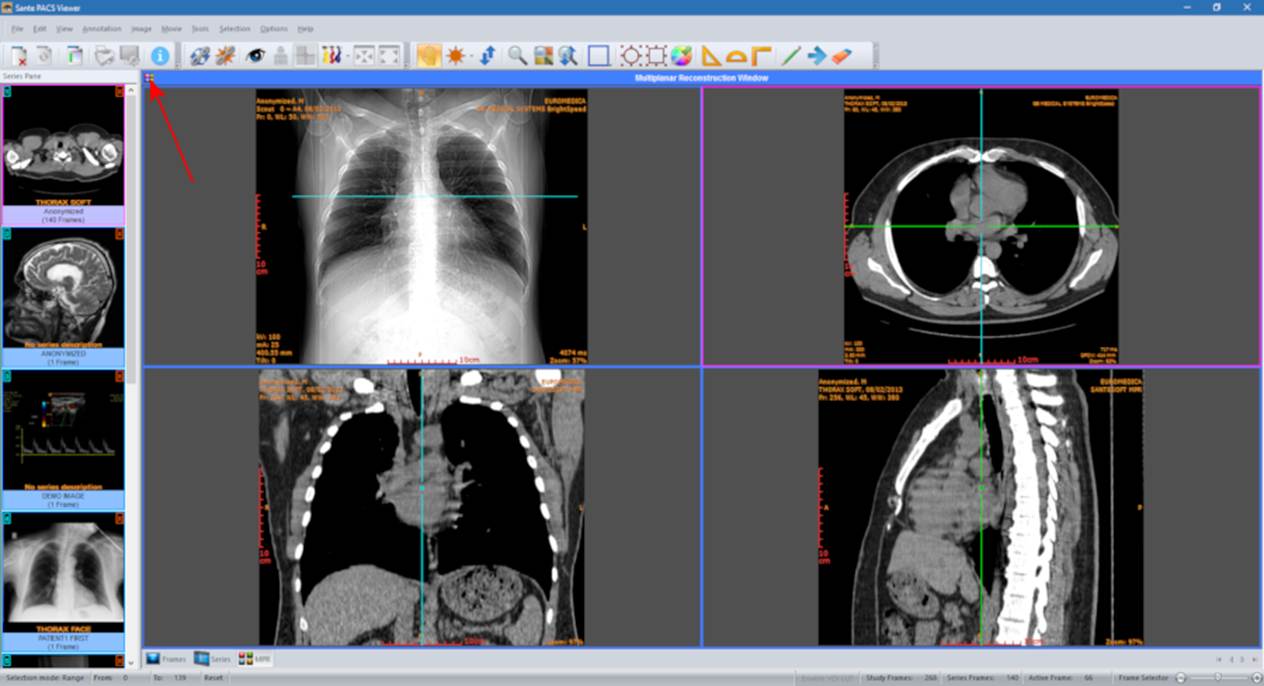
In the three-tile layout, the "MPR Mode" displays the axial series and the coronal and sagittal reconstructions of the series. In the four-tile layout, the "MPR Mode" displays the scout image/localizer, the axial series and the coronal and sagittal reconstructions of the series. The user can move the cross-reference lines in the axial, coronal and sagittal frames using the points indicated in the image below:
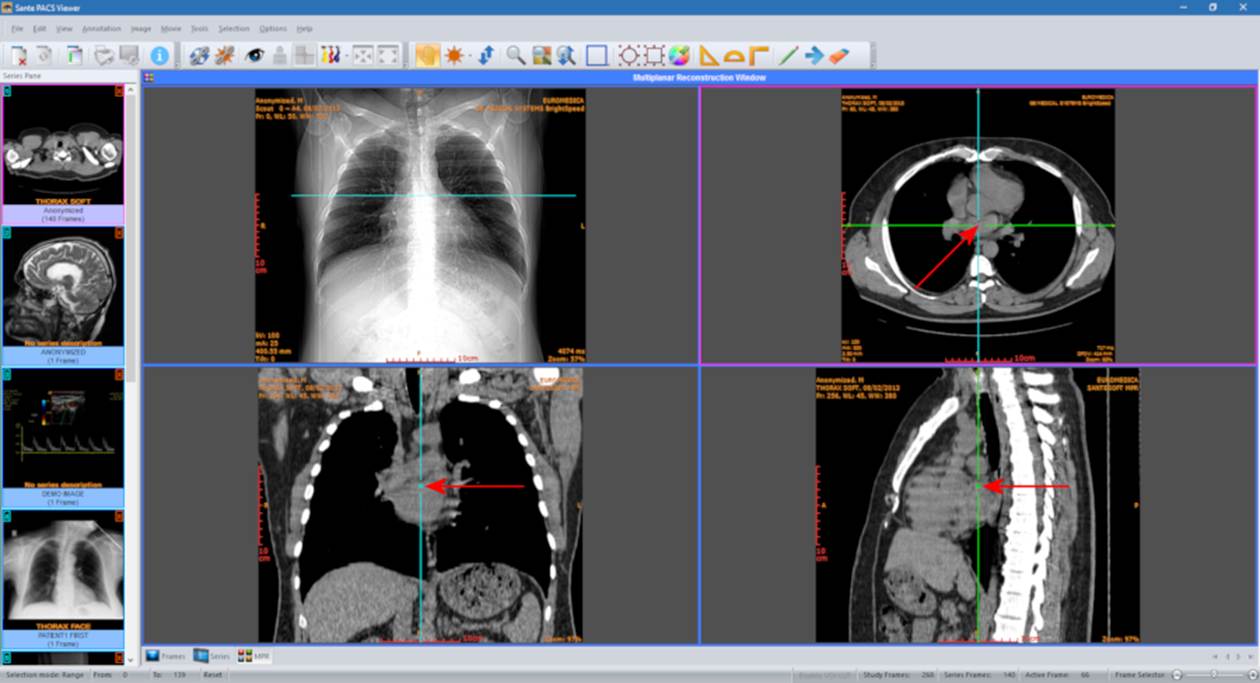
The program displays the cross-reference lines of all axial frames in the scout image/localizer if the menu command "View
→
All Localizer Lines"
is selected.